
Last updated September 16, 2026
Attic Insulation Maintenance Checklist for Costa Mesa Homeowners
Here’s a number that surprises most Costa Mesa homeowners: batts of fiberglass insulation that look perfectly fine from the attic hatch can lose 30 to 40 percent of their rated R-value in under a decade. We see it constantly in Orange County attics. The culprit isn’t age alone. It’s the combination of marine-layer humidity cycling and pest intrusion that most national checklists never mention. This guide is built specifically for what actually goes wrong in Costa Mesa attics, with a room-by-room inspection sequence, specific depth measurements for our climate zone, and clear guidance on what you can handle yourself versus what needs a trained eye. For a deeper dive, see our Complete Guide to Insulation in Costa Mesa. By the end, you’ll know exactly what to look for, what it means, and what to do about it.
Quick Answer
An attic insulation maintenance checklist for Costa Mesa homeowners should focus on five things: checking for compressed or moisture-darkened insulation (especially along the eaves), verifying eave vents are unobstructed and attic bypasses are sealed, looking for rodent and squirrel entry evidence, measuring insulation depth against local climate-zone targets, and addressing any gaps or thin spots before summer heat arrives. Most homeowners can inspect safely in about 30 minutes with a flashlight, a tape measure, and a dust mask. If you find pest damage, widespread moisture staining, or insulation pulled back from the eaves, call a licensed insulation contractor for our Attic Insulation services and a full assessment.
Table of Contents
- Why Coastal Attics Fail Differently in Costa Mesa
- Safety First: What to Check Before You Climb Up
- The Compression Check: Spotting R-Value Loss in 10 Minutes
- Moisture Damage and What the Marine Layer Does to Insulation
- Eave Vents and Attic Bypasses: Where Humid Air Sneaks In
- Pest Intrusion: Rats, Squirrels, and What Costa Mesa’s Geography Invites
- Depth Measurement: What Healthy Insulation Looks Like in Climate Zone 3
- DIY Top-Ups vs. Calling a Professional: Where to Draw the Line
Why Coastal Attics Fail Differently in Costa Mesa
Most attic maintenance guides are written for cold-climate homes in the Midwest or Northeast, where the priority is keeping heat in and preventing ice dams. Costa Mesa doesn’t have ice dams. Our homes face a completely different set of stressors. We’re in Climate Zone 3, which means mild winters and hot, dry summers. But the real differentiator is the marine layer. From late spring through early fall, moist ocean air rolls into Orange County almost every evening, raising attic humidity levels even when the temperature outside feels pleasant. That humid air condenses on cooler surfaces, and insulation absorbs it like a sponge. Over repeated cycles, batts that should hold their loft start to sag and compress. Add in pest pressure from our location along natural migration corridors, and you have a recipe for insulation failure that looks very different from anything you’d see in Minnesota. That’s why this checklist exists specifically for Costa Mesa homeowners.
Safety First: What to Check Before You Climb Up
Before you open the attic hatch, take two minutes to protect yourself. Attics in Costa Mesa can reach 130 degrees or more by mid-morning in summer, even when the outside temperature is comfortable. Schedule your inspection for early morning or after sunset, or wait for an overcast day. Wear a dust mask, long sleeves, work gloves, and pants. Insulation fibers, especially older fiberglass, can irritate skin and lungs. Use a bright headlamp or flashlight, and carry a tape measure and a small notepad or phone camera for documentation. Move only on the tops of ceiling joists or the center attic floor if it’s decked; stepping between joists onto drywall from below is the fastest way to put a foot through your ceiling. If you have blown-in insulation, mark joist locations before walking so you don’t misstep. Never enter an attic with exposed knob-and-tube wiring, and if you see significant vermiculite insulation, stop and call a professional for testing before disturbing it.
The Compression Check: Spotting R-Value Loss in 10 Minutes
Compression is the silent killer of attic insulation, and it’s the single most common problem we find in Costa Mesa homes. Fiberglass and mineral wool batts get their insulating power from trapped air. When something compresses the batts, that air is squeezed out, and the R-value drops proportionally. A batt rated at R-30 installed in a 2×10 joist bay has about 9.25 inches of depth. If it’s compressed to 6 inches, you’ve lost roughly a third of its thermal performance. The same principle applies to blown-in fiberglass or cellulose. Here’s a step-by-step compression check:
- Start at the attic hatch and scan the nearest 10 square feet with your flashlight. Look for batts that appear flattened, especially under stored boxes, HVAC equipment, or walkway planks.
- Run your gloved hand lightly across the top of the insulation. Healthy batts should feel spongy and spring back. Compressed batts feel dense and matted, like a wet blanket that has dried.
- Check the area around any recessed light fixtures, bathroom fans, or attic-mounted equipment. Contractors often compress insulation to work around these features and never restore it.
- Look at the edges of the attic floor along the eaves. Batts frequently get pushed down into the soffit area during installation, blocking airflow and losing loft in the process.
- If you have blown-in insulation, look for uneven drifts. Areas that appear lower than the surrounding material may have been compressed by foot traffic or shifted by air currents.
In our experience serving Costa Mesa and surrounding Orange County neighborhoods, compression is rarely uniform. It shows up in specific zones: around attic access points, under stored belongings, and along the eaves where insulation installers pushed material too far into soffit bays. The fix for mild compression in a small area is often a targeted top-up. For widespread compression across more than 30 percent of the attic floor, removal and replacement usually makes more sense than adding material on top of damaged batts. We work with blown-in insulation in Costa Mesa regularly for exactly this type of correction, since it can be applied in a consistent depth across an entire attic in a single visit.
Moisture Damage and What the Marine Layer Does to Insulation
Moisture is the second major failure mode, and in Costa Mesa it’s almost a given after enough seasonal cycles. The marine layer that rolls in from Newport Bay and the Pacific Ocean pushes humid air into attics through eave vents and any unsealed gaps. When that humid air hits cooler framing or drywall, condensation forms. Insulation absorbs it. Over years, the result is dark staining, musty odors, and a measurable drop in performance. Here’s how to distinguish normal settling from moisture-related damage:
- Color: Healthy fiberglass batts are uniformly yellow, pink, or white depending on the manufacturer. Moisture-damaged batts develop gray, brown, or black patches, often concentrated near the bottom of the batt where condensation settles. Kraft-faced batts may show staining on the paper facing itself.
- Texture: Batts that have been through repeated moisture cycles feel crisp or brittle rather than soft. Some develop a subtle crust on the surface where mineral deposits were left behind after water evaporated.
- Odor: A musty or earthy smell in the attic, especially on humid mornings, is a strong indicator that insulation has been holding moisture. This smell often becomes more noticeable when the attic warms up.
- Mold: Visible mold on batt surfaces or on the underside of roof sheathing is a diagnosis, not a warning sign. If you see it, you have an active moisture problem that needs correction before any insulation work happens.
One distinction matters here: moisture-darkened batts in a coastal attic are not the same as water damage from a roof leak. If the staining is concentrated in one area directly under a roof penetration or valley, you likely have a leak that needs a roofer’s attention. Widespread, diffuse staining across large sections of the attic floor points to condensation from humid air, which is an insulation and air-sealing problem. Both issues need to be resolved before you invest in new insulation. Installing fresh batts over a moisture problem is throwing money away. At Warmline Insulation Co., we start moisture-related projects with a diagnostic pass that identifies the source before we recommend any material changes. That’s the only sequence that makes sense in a coastal climate like ours.
Eave Vents and Attic Bypasses: Where Humid Air Sneaks In
Your attic is supposed to breathe, but it needs to breathe through the right openings in the right amounts. Eave vents (also called soffit vents) allow outside air to enter the attic, where it rises and exits through ridge or gable vents. This airflow prevents heat and moisture from building up. When eave vents work correctly, they’re doing their job. When they’re blocked, disconnected, or paired with unsealed bypasses, they introduce problems. In Costa Mesa, the challenge is that the air coming through those vents is often marine-layer humid, which means air sealing around the attic floor becomes twice as important as it would be in a drier climate.
Here’s what to check:
- From inside the attic, locate each eave vent by looking for daylight at the perimeter of the attic floor. In older Costa Mesa homes, these vents are often small rectangular openings in the soffit, and they should be present every few feet along the eaves.
- Confirm that insulation has not been pushed into the vent opening. This is one of the most common installation mistakes we see: installers blow or lay insulation all the way to the edge of the attic floor, effectively sealing off the airflow path. There should be a baffle or vent chute holding insulation back from each vent.
- Look for attic bypasses: openings in the attic floor that allow conditioned air from your living space to leak into the attic. Common bypasses include plumbing vent penetrations, electrical boxes, recessed lights, and gaps around the chimney chase. These are channels for warm, humid air to rise directly into insulation.
- Check for disconnected bathroom exhaust fans. In many older homes, bath fans vent directly into the attic rather than through the roof. If you see a flexible duct terminating in open attic space, every shower is pumping moisture into your insulation.
- Trails and tunnels: Rodents create visible paths through blown-in insulation, often along walls or under roof lines. If you see flattened runs or dark, greasy smears along roof joists, you have active or recent rodent traffic.
- Droppings: Rat droppings are capsule-shaped, about half an inch long, and typically found in concentrated areas near nesting sites. Squirrel droppings are similar but slightly larger and more rounded. Both are health hazards, and neither should be swept up without proper protection.
- Gnaw marks: Look at the edges of roof sheathing, the top plates of walls, and any electrical wiring. Fresh gnaw marks are pale and sharp; older marks darken with age. Squirrels in particular chew constantly to keep their teeth worn down.
- Entry points: The most common entry locations in Costa Mesa homes are gaps at the eave-to-roof junction, uncapped gable vents, and openings around roof-mounted plumbing vents or HVAC penetrations. A rat can squeeze through a hole the size of a quarter.
- Fiberglass batts: Measure the depth of the batt in an undisturbed area. Standard R-30 batts are 9.5 inches thick. R-38 batts measure about 12 inches. If your batts are 7 inches or less, you’re under-insulated for our climate.
- Blown-in fiberglass: Use a yardstick or tape measure, insert it vertically into the insulation until it reaches the attic floor, and read the depth. At 11 to 12 inches, you’re in the R-30 to R-38 range. At 6 inches or less, you’re losing meaningful performance.
- Blown-in cellulose: Cellulose settles more than fiberglass, so it’s typically installed deeper initially. At 10 to 11 inches after settling, you’re in the R-35 to R-38 range.
- Visually inspecting insulation for compression, staining, and pest evidence using this checklist.
- Measuring insulation depth in multiple locations and documenting it with photos.
- Checking eave vents for visible blockage from the attic side.
- Sweeping up minor debris or small amounts of dust with appropriate PPE.
- Spot-checking the attic hatch for a tight seal and adding weatherstripping if needed.
- Any work involving rodent droppings, urine, or nesting material. Disturbing contaminated insulation without proper containment spreads airborne particles through your home. Professional removal with appropriate equipment is the safe route.
- Widespread moisture damage or visible mold. The underlying moisture source needs to be identified and corrected before insulation is addressed, and mold remediation requires specific protocols.
- Removing and replacing more than a small section of insulation. Full attic insulation replacement is physically demanding work that involves crawling over joists, managing material in tight spaces, and ensuring complete coverage without blocking vents.
- Air sealing around recessed lights, chimney penetrations, and exhaust fan ducts. These areas involve fire safety considerations that require knowledge of clearance requirements and proper sealing materials.
- Spray foam application. This is not a DIY product. Proper mixing, temperature control, and application technique are essential, and mistakes require expensive removal.
Fixing blocked vents and sealing bypasses is often more impactful than adding insulation. A home with moderate R-value but tight air sealing will outperform a home with high R-value and leaky bypasses every time. That’s why spray foam insulation in Costa Mesa has become such a practical option for many homeowners: it addresses insulation and air sealing simultaneously, which is exactly what coastal attics need. For homes where spray foam isn’t the right fit, a combination of sealing and traditional batt or blown-in insulation accomplishes the same goal in two steps.
Pest Intrusion: Rats, Squirrels, and What Costa Mesa’s Geography Invites
Ask any insulation contractor in Orange County what they find most often in attics, and the answer is consistent: rats and squirrels. Costa Mesa’s location along the Santa Ana River corridor and its proximity to open spaces like Fairview Park and Talbert Regional Park means our neighborhoods sit directly in the path of rodent movement. Rats and squirrels follow tree lines, power lines, and fences into residential blocks, and their entry point is almost always the attic. Once inside, they nest in insulation, shred it for bedding, and saturate it with droppings and urine. The damage goes beyond smell and sanitation: compressed, urine-soaked insulation loses most of its R-value and becomes a health concern.
Here’s what to look for during your maintenance check:
If you find evidence of rodents, the sequence matters. Pest exclusion comes first: all entry points sealed, all active animals removed. Then insulation replacement: contaminated material removed, attic sanitized, and fresh insulation installed. Skipping either step means the problem returns. Warmline handles this as part of our attic cleaning and rodent proofing service, and we’ve spent over 15 years learning exactly where Costa Mesa rodents enter and how to keep them out.
Depth Measurement: What Healthy Insulation Looks Like in Climate Zone 3
National insulation charts recommend attic R-values from R-49 to R-60 for much of the country. Those numbers are overkill for Costa Mesa, and applying them to our homes wastes money. The Department of Energy places Orange County in Climate Zone 3, where the recommended attic insulation level is R-30 to R-38 for most homes. That translates to roughly 9 to 12 inches of fiberglass batt insulation or about 10 to 13 inches of blown-in fiberglass. If your attic is at or above that range and the insulation is in good condition, you’re doing well. Adding more will produce diminishing returns.
Here’s a practical measurement guide:
The “more is always better” mindset simply doesn’t hold up in a climate where the annual temperature swing is moderate. The biggest performance gains for Costa Mesa homes come from fixing air sealing, correcting compression, eliminating moisture, and getting insulation up to a consistent R-30 to R-38. Beyond that, spending more on material delivers minimal comfort or energy-bill benefit. We specify insulation levels based on a home’s individual characteristics, not a one-size-fits-all national chart. If you’re not sure what you have or what you need, a Costa Mesa attic insulation assessment gives you precise measurements and a clear recommendation.
DIY Top-Ups vs. Calling a Professional: Where to Draw the Line
Some attic maintenance tasks are reasonable for a homeowner to handle. Others should be left to a licensed contractor. Knowing the difference saves you money, time, and the risk of a bad outcome. Here’s the realistic breakdown:
Tasks most Costa Mesa homeowners can handle themselves:
Tasks that warrant a professional:
Most jobs we complete in Costa Mesa are finished in a single visit, which neutralizes the scheduling hassle that makes homeowners hesitate to call a professional. If you’re unsure whether a task is DIY territory, err on the side of a quick phone call. A live person answers 24/7 at (657) 224-2897, and we’d rather answer a question than have you create a bigger problem by guessing.
Common Mistakes to Avoid
- Adding insulation over compressed or moisture-damaged material: New insulation laid over old compressed batts simply reproduces the same problem at a higher level. The damaged material needs to be removed first, or the area needs targeted correction before a top-up.
- Blocking eave vents during installation: This is the single most common installation defect we correct in Costa Mesa attics. Baffles must be installed at every eave vent location before any insulation is added. Without them, airflow stops, moisture builds, and insulation performance drops.
- Assuming pest droppings are old and harmless: Rodent droppings remain hazardous long after the animal is gone. Hantavirus, salmonella, and other pathogens survive in dried droppings. Always treat rodent evidence as active until proven otherwise and use proper protection.
- Ignoring attic air leaks because “it’s just a little air”: The bypasses that leak conditioned air into your attic are the same channels that carry moisture and odors. Sealing them is the highest-leverage insulation improvement you can make in a coastal climate.
- Venting bathroom fans into the attic: This single defect can saturate insulation with moisture in under a year. Bath fans must be vented through the roof or an exterior wall, not into the attic cavity.
- Using national R-value charts for a Costa Mesa home: Climate Zone 3 requires less insulation than colder regions. Overspending on insulation that produces marginal returns is a poor investment when the real performance gains come from air sealing and correcting moisture issues.
- Skipping the inspection because “the house is new”: Even new construction in Costa Mesa can have insulation defects, especially in production developments where installation speed is prioritized over quality. A 30-minute inspection is cheap insurance.
When to Call a Professional
If your inspection turns up any of these conditions, call a licensed insulation contractor rather than attempting a fix yourself: active or extensive rodent evidence, widespread moisture staining or mold, insulation that has been compressed across more than a third of the attic floor, blocked eave vents that require removal of existing material to correct, or any situation where you’re uncomfortable working in the attic space. Warmline Insulation Co. offers free estimates in Costa Mesa. Our background-checked, uniformed technicians are available for same-week appointments, and every job is backed by the 90-Day Done Right Promise. Call (657) 224-2897 and a live person will answer, 24/7.
Frequently Asked Questions
We recommend inspecting your attic insulation once a year, ideally in spring before the summer heat arrives. The inspection takes about 30 minutes and covers compression, moisture, pest evidence, vent blockage, and insulation depth. Coastal homes in Costa Mesa face enough environmental stress that an annual check catches problems early, before they become expensive repairs. If your home is more than 15 years old or you’ve never inspected the attic, start now.
Attic insulation replacement in Costa Mesa typically ranges from $1,800 to $4,500 for a standard single-family home, depending on attic size, insulation type, accessibility, and whether air sealing or pest remediation is included. Blown-in fiberglass is generally the most cost-effective option for replacement, while spray foam costs more upfront but addresses air sealing simultaneously. For an exact quote based on your home, call (657) 224-2897. Estimates are free.
You can add new insulation over old insulation only if the existing material is dry, clean, pest-free, and not significantly compressed. If your existing insulation shows moisture staining, has been compacted by foot traffic or storage, or contains rodent droppings, removal is the correct first step. Adding material on top of contaminated or damaged insulation traps the problem and reduces the effectiveness of the new layer.
For Costa Mesa homes in Climate Zone 3, the recommended attic insulation level is R-30 to R-38. This translates to approximately 9 to 12 inches of fiberglass batt or 10 to 13 inches of blown-in fiberglass. National recommendations of R-49 or higher apply to colder climate zones and are not necessary for Orange County. Focus on consistent depth, good air sealing, and functioning ventilation before spending on additional R-value.
Both blown-in and batt insulation perform well in Costa Mesa attics when installed correctly. Blown-in fiberglass is faster to install, fills irregular cavities more completely, and typically costs less per square foot. Batts offer easier future access to ceiling fixtures and are more DIY-friendly for small repairs. The better choice depends on your attic’s layout, existing insulation type, and whether air sealing is part of the project.
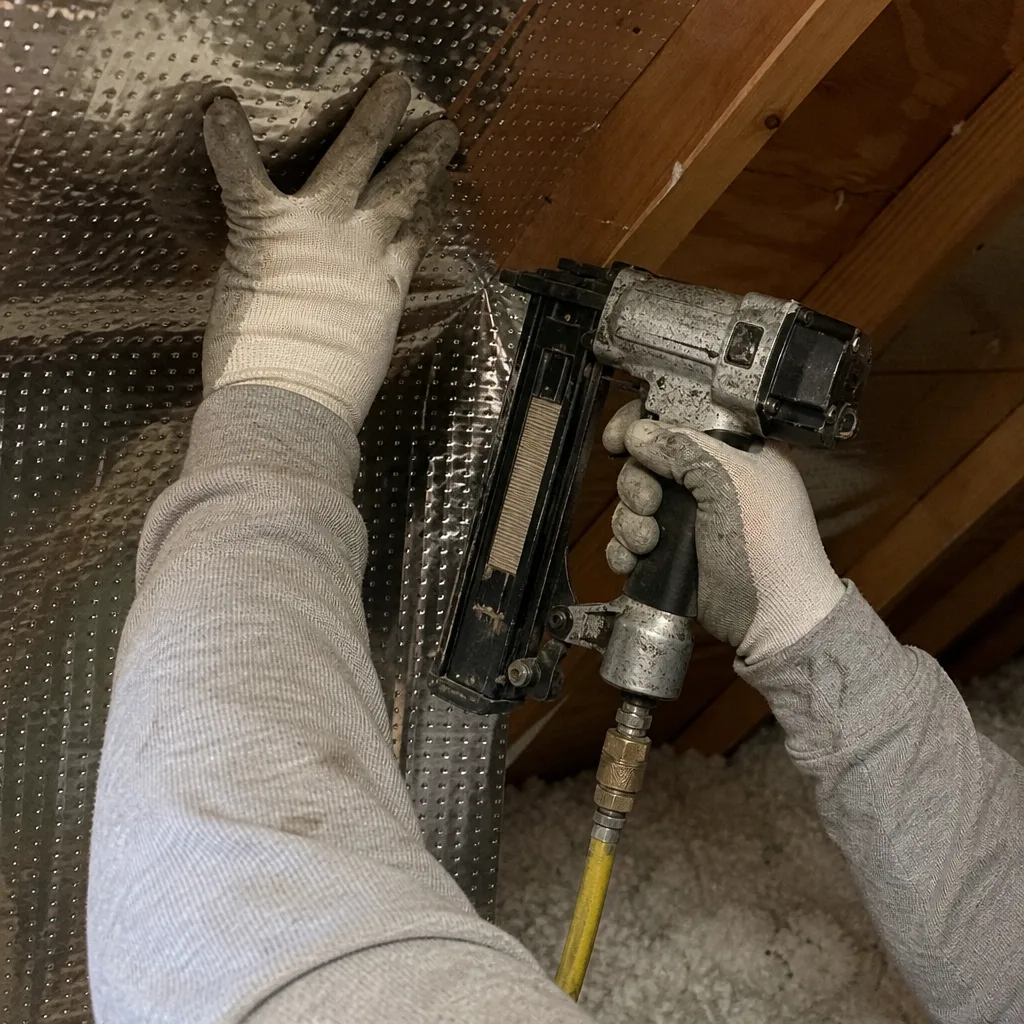
Radiant barrier can be effective in Costa Mesa, particularly for homes with south-facing or west-facing roof exposures that absorb direct afternoon sun. Radiant barrier works by reflecting radiant heat before it reaches the attic floor, which reduces cooling load in summer. It works best when installed correctly with an air gap and paired with adequate insulation. It’s not a replacement for insulation, but it can improve comfort in homes with significant sun exposure.
The Bottom Line
Costa Mesa attics face a specific set of challenges that generic maintenance guides miss: marine-layer humidity, compressed insulation from coastal moisture cycling, and rodent pressure from our location along natural corridors. The most productive maintenance you can do is an annual 30-minute inspection that checks compression, moisture staining, eave vent function, pest evidence, and insulation depth against Climate Zone 3 targets of R-30 to R-38. If you find problems, address them in the right sequence: fix ventilation and air leaks, eliminate moisture, remove contaminated material, then install or top-up insulation. If you’re unsure what you’re looking at, explore more guides & resources or call a licensed professional. Warmline Insulation Co. has served Costa Mesa since 2011, and our technicians inspect attics daily. Call (657) 224-2897 for a free estimate, and a live person will answer, 24/7.
Written by Neil Ashford, Owner at Warmline Insulation Co., serving Costa Mesa since 2011.